Home bread bakers have two problems: home ovens don’t create or retain heat like commercial bread ovens, and home ovens don’t have the humidifier systems that professionals use to create the “crackling crusts” that artisan bread bakers treasure. In November 2006 New York Times food writer Mark Bittman published an article on the work professional baker Jim Lahey has done to develop home techniques for bread baking, using Dutch ovens (covered metal or ceramic pots) to solve both the heat and moisture problems.
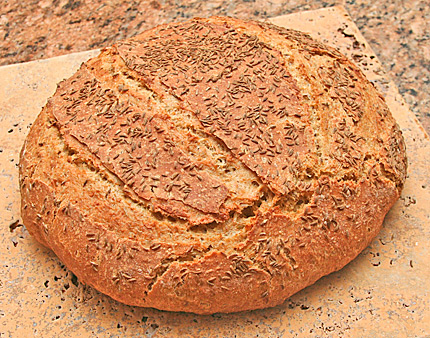
It’s no exaggeration to say that the article has revolutionized home bread baking in the last several years. It reduced a complex, fussy process to something you could do on a Saturday afternoon in-between errands, and still produce loaves that look like the work of artisan bakers. By placing the risen bread dough into a 425°F Dutch oven, you get the massive surrounding heat of a professional oven, and in the covered pot the bread itself supplies the moisture needed to produce a great crust.
Preparation and baking time: About 45 minutes
Equipment
- A metal or ceramic covered pot or Dutch oven
- Baking parchment tested to 450°F
- Pam or another oil spray
- Glass pie plates or shallow bowls for holding the rising bread dough
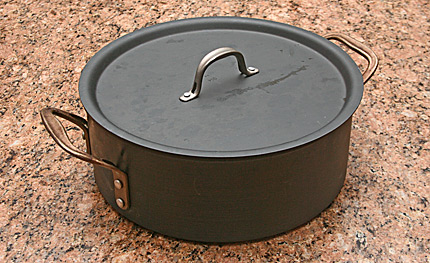
I use a Calphalon 8.5 quart covered metal pot, which gives me an interior diameter of 12 inches. The pot retains heat well, but does not have the awkward weight of a ceramic or cast-iron pot of this size, so it’s easy to handle around the stove. Cooks Illustrated magazine reviewed this smaller inexpensive ceramic pot and liked it. King Arthur also sells a nice ceramic pot for this technique. I use steam tray pans for longer shapes like baguettes.
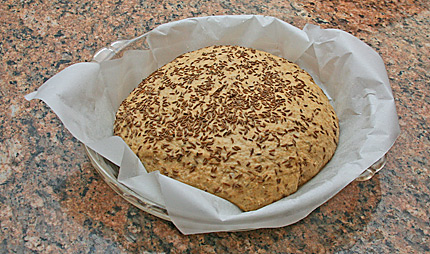
After the initial rise is done, I form the loaf shape (boule, oblong loaf, short French bread, etc.) and place the shaped dough onto a greased piece of baking parchment, in a bowl or pie plate that helps the rising dough retain the appropriate shape. Pyrex 9.5 inch glass pie plates work perfectly for round shapes or boules. I tear off a piece of parchment, spray it with Pam to oil it, and place the parchment into the bowl, then place the dough onto the parchment for it’s final rise.
About 40 minutes before the bread is done with its final rise, preheat your oven to 425°F with your pot in the oven. You want to be sure that the pot itself has fully reached the 425°F temperature, as the pot is the actual bread oven for this technique.
Slash the bread if necessary just before baking. The slashes across the top crust help the bread get maximum “oven spring” in the first few minutes of baking.
At this point do everything carefully and deliberately to avoid burns, and use heavy pot-holders throughout to protect your hands.
Remove the heated pot from the oven.
Pick up the bread by the parchment ends and place the bread gently into the pot. Don’t just drop the bread into the pot or you’ll disturb the rise and loaf shape.
Quickly cover the pot and place the covered pot back into the oven.
Bake for about 15 minutes. The exact time depends on the loaf shape and size. For a loaf made from about 2 cups of flour, in a round boule shape, 15 minutes works well.
To brown the bread crust for final finishing, remove the pot cover and bake for an additional 15 minutes.
Remove the bread from the pot and cool on a rack for at least 30 minutes.


